
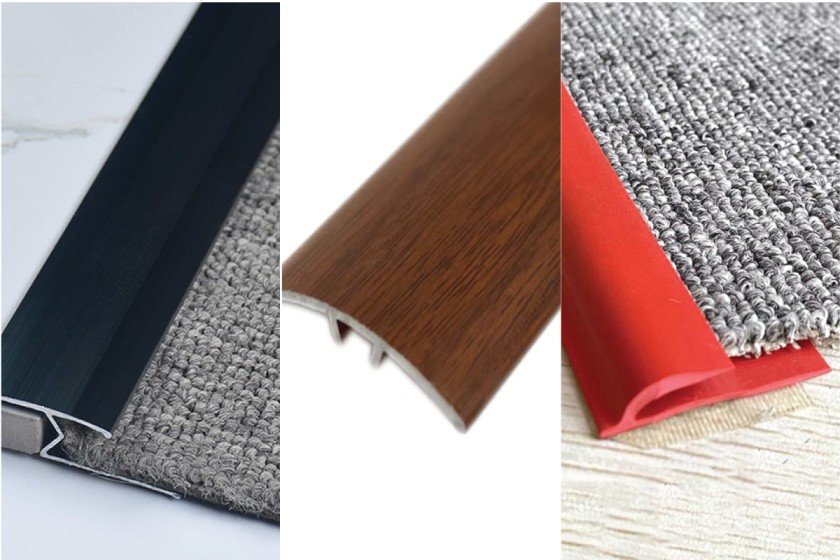
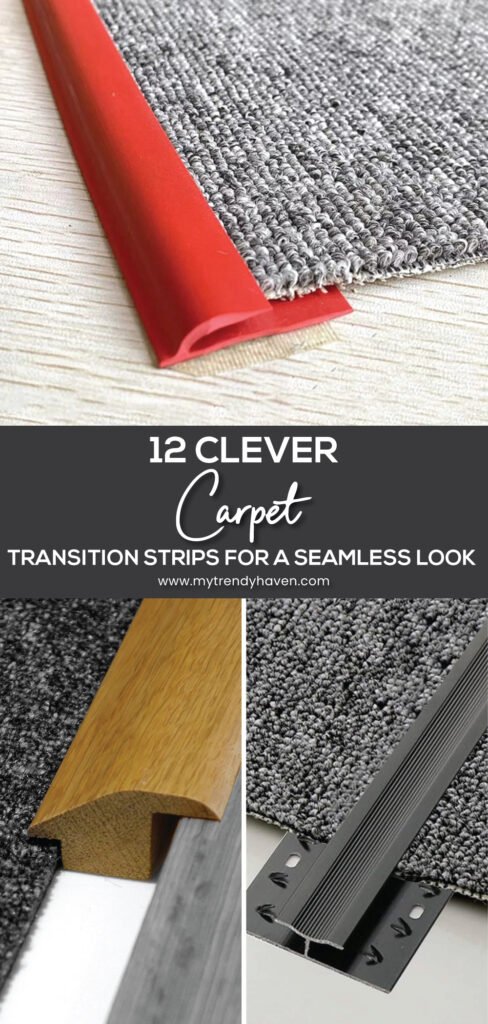
Carpet transition strips create smooth connections between different types of flooring. They prevent accidents, protect carpet edges, and give rooms a polished look. Using the right strip makes walking between rooms safer and more comfortable.
Each strip serves a unique purpose depending on the height, material, and style of the floors. This guide explains 12 types of carpet transition strips, their uses, installation tips, and advantages.
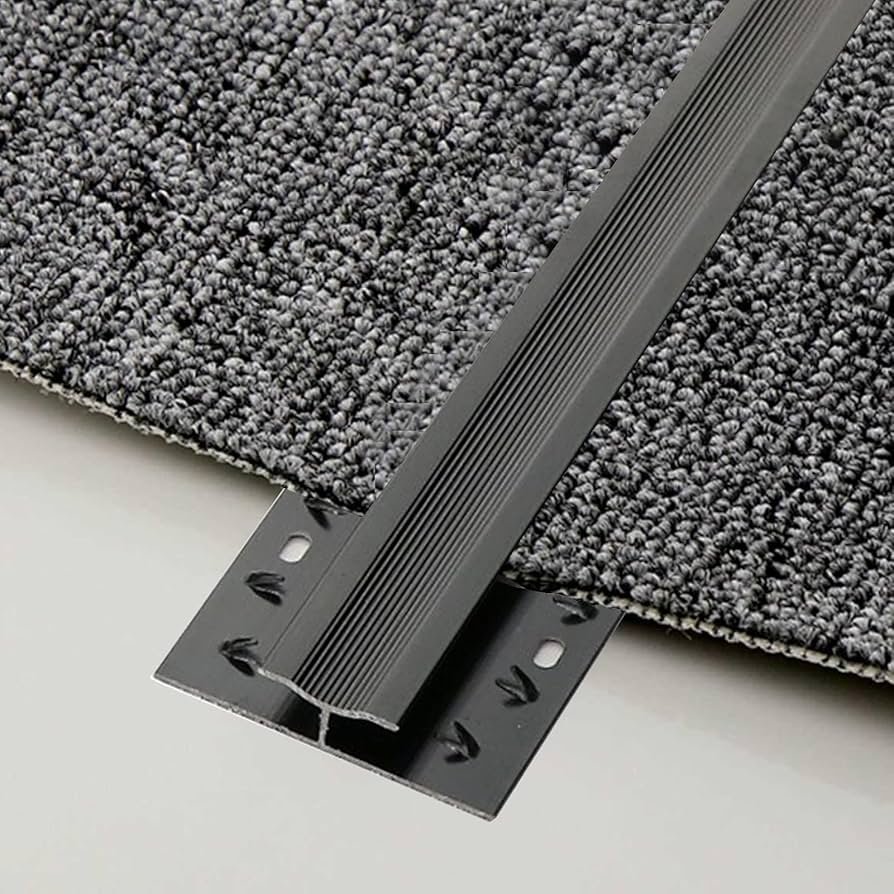
1. T-Molding
T-Molding works best when two floors have the same height. Its T-shape fits into the gap between floors. The top bar rests on the surface, while the bottom slides into the space below. This strip is common between carpet and hardwood, laminate, or tile.
Installation Tips:
- Measure the gap carefully.
- Cut the T-Molding to the correct length.
- Use adhesive or screws to hold it in place.
Advantages:
- Smooth, level transition.
- Allows slight movement between floors.
- Ideal for hallways and large rooms.
Best Rooms: Living rooms, hallways, and open spaces.
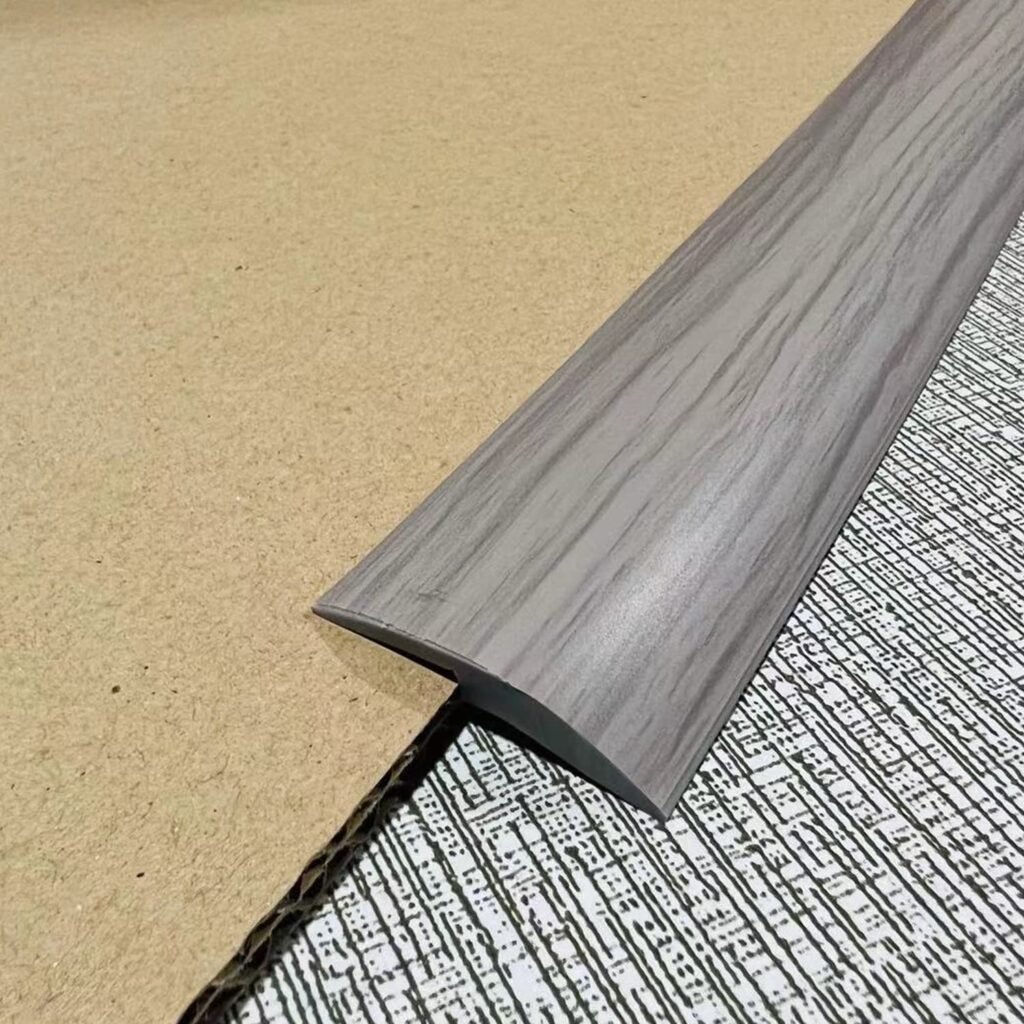
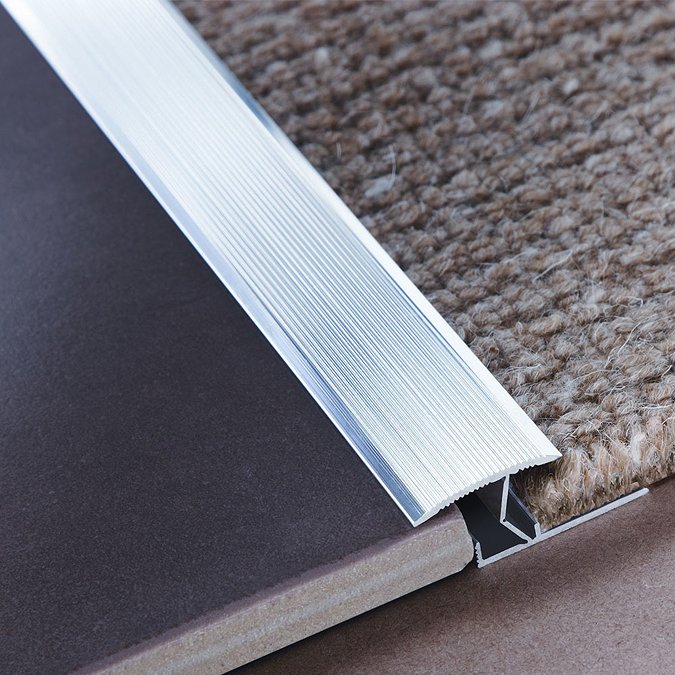
2. Reducer Strip
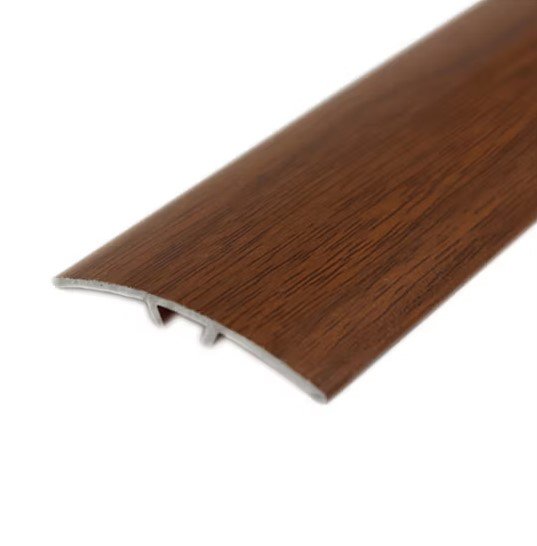
Reducer strips connect floors of different heights. They slope gently from a higher floor to a lower floor, preventing tripping hazards.
Installation Tips:
- Ensure the higher floor is clean and level.
- Nail or glue the reducer strip in place.
- The strip should cover the gap completely.
Advantages:
- Smooth slope between different floors.
- Protects carpet edges.
- Available in wood, laminate, or aluminum finishes.
Best Rooms:
- Kitchens, bedrooms, and entryways where carpet meets tile or vinyl.
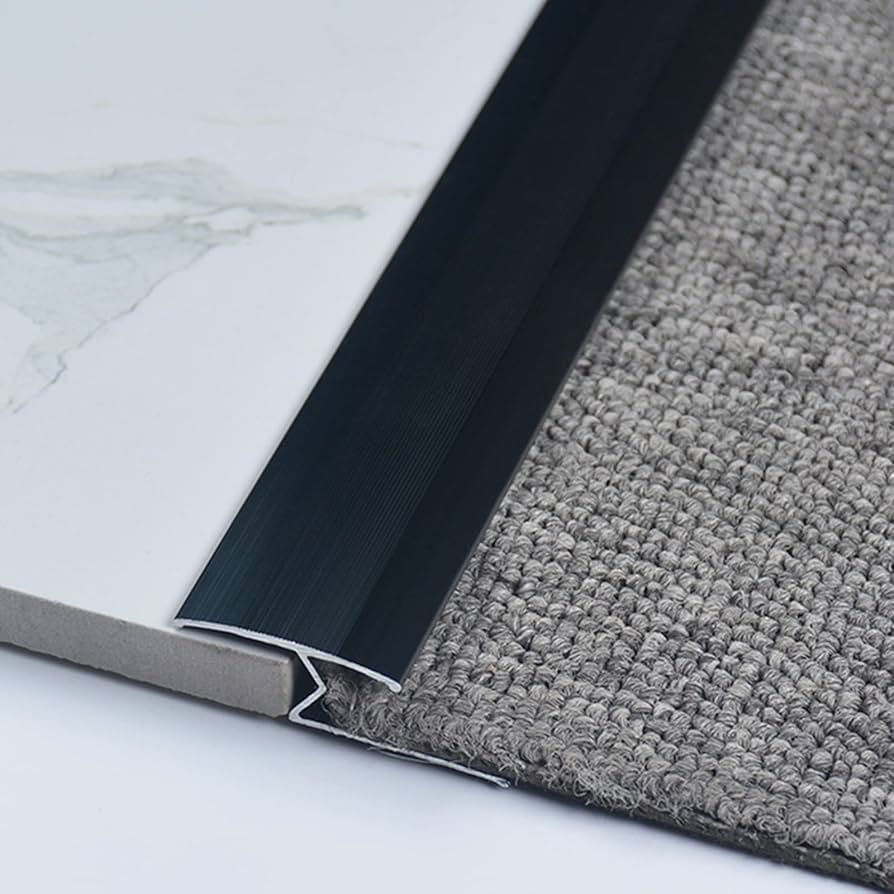
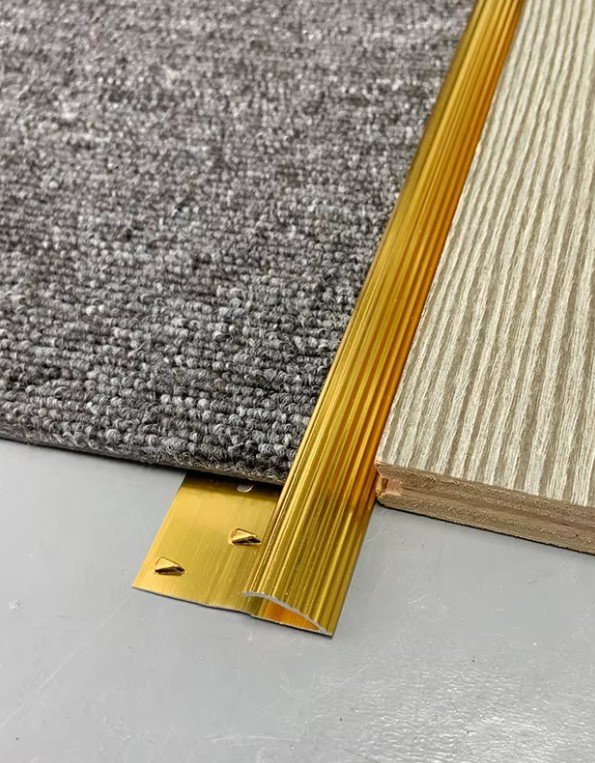
3. End Cap Strip
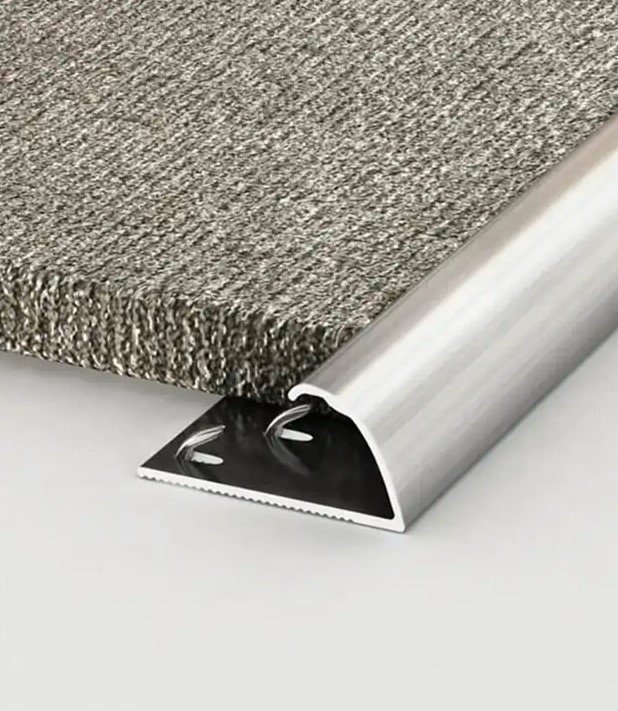
End cap strips finish the edge of the carpet where it meets a hard floor. They are often used in doorways and room corners. The flat part sits on the hard floor, while the angled part covers the carpet edge.
Installation Tips:
- Measure the carpet length and cut the strip to size.
- Place the carpet edge under the angled part.
- Secure it with nails, screws, or adhesive.
Advantages:
- Prevents carpet fraying.
- Neat and clean appearance.
- Easy to install in small areas.
Best Rooms:
- Doorways, hallways, and areas with frequent foot traffic.
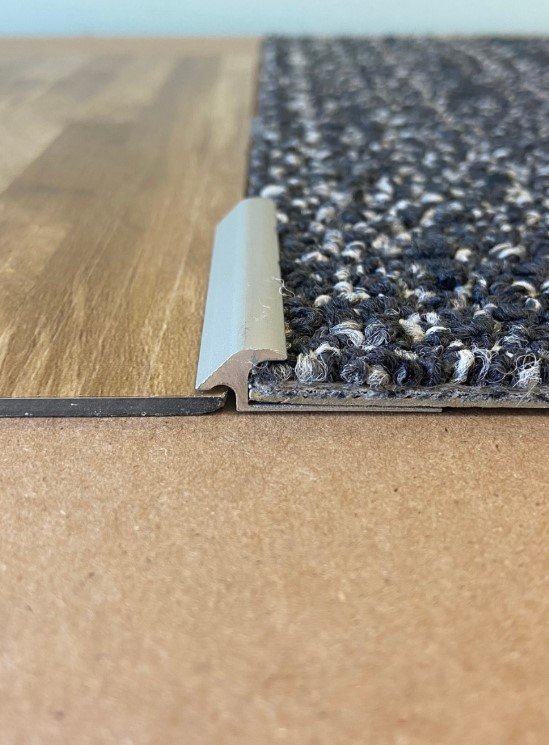
4. Overlap Strip
Overlap strips protect carpet edges by covering them partially. The carpet slides under the strip while the top overlaps.
Installation Tips:
- Position the strip evenly along the carpet edge.
- Press down firmly to secure.
- Some strips use nails, adhesive, or both.
Advantages:
- Protects carpet from damage.
- Simple installation process.
- Works well for short transitions.
Best Rooms:
- Hallways, entrances, and small rooms.
5. Metal Carpet Strip
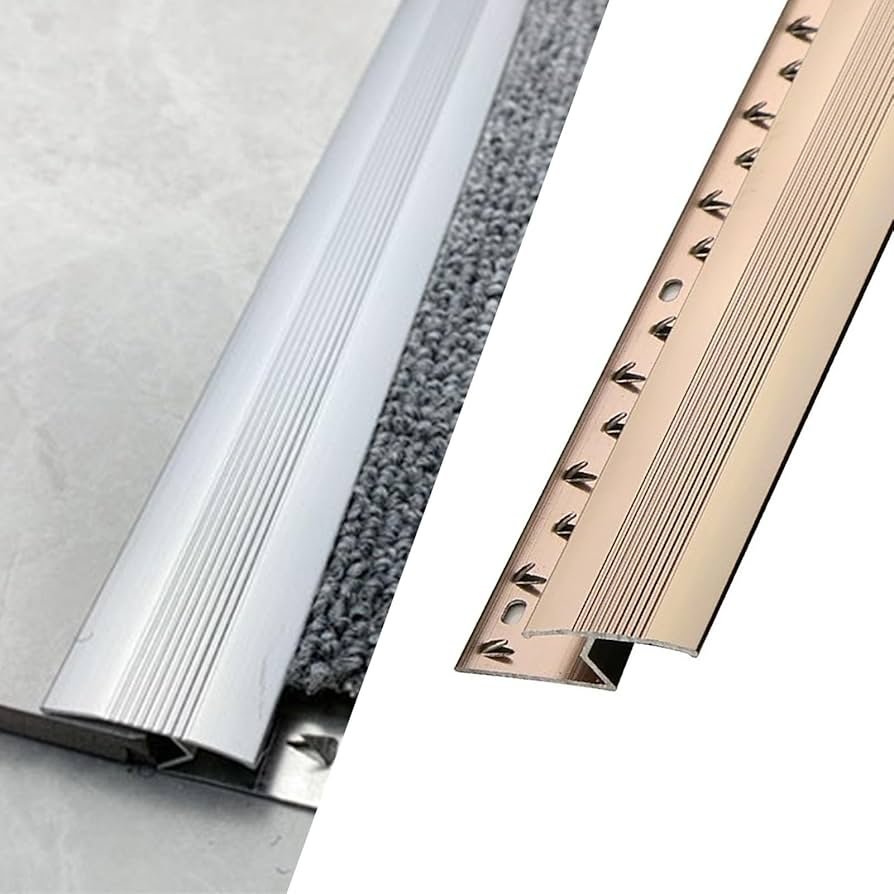
Metal strips are durable and long-lasting. Aluminum and brass are the most popular metals. They resist heavy foot traffic and add a modern look to floors.
Installation Tips:
- Measure carefully before cutting.
- Drill holes for screws if needed.
- Place the carpet under the metal edge.
Advantages:
- Long-lasting and strong.
- Resistant to wear and tear.
- Provides a clean, modern look.
Best Rooms:
- Offices, kitchens, or living rooms with heavy traffic.
6. Vinyl Carpet Strip
Vinyl strips are flexible and affordable. They protect carpet edges without looking heavy. Vinyl comes in many colors and patterns, making it easy to match the flooring.
Installation Tips:
- Cut to the exact size of the gap.
- Use adhesive or nails to hold it in place.
- Smooth out any bumps or wrinkles.
Advantages:
- Affordable and versatile.
- Soft underfoot.
- Easy to install and replace.
Best Rooms:
- Bedrooms, living rooms, and areas where style matters.
7. Wood Carpet Strip

Wood strips blend naturally with hardwood or laminate floors. They can be stained or painted to match room colors. Wood strips are strong and protect carpet edges.
Installation Tips:
- Measure the length needed.
- Cut wood strip and sand edges.
- Secure with nails, screws, or adhesive.
Advantages:
- Natural look for the room.
- Long-lasting and strong.
- Can be painted or stained for style.
Best Rooms:
- Living rooms, bedrooms, and formal areas.
8. Carpet-to-Carpet Strip
transition. These strips often use adhesive or metal clips.
Installation Tips:
- Clean the floor before installation.
- Position strip evenly along the seam.
- Press firmly to ensure carpet stays in place.
Advantages:
- Prevents fraying and movement.
- Works in open spaces with multiple carpets.
- Maintains a clean look.
Best Rooms:
Large living rooms, hallways, and multi-carpet areas.
9. Threshold Strip
Threshold strips are placed in doorways to cover gaps between floors. They can be made of wood, metal, or vinyl. Thresholds make walking between rooms safer.
Installation Tips:
- Measure the doorway width.
- Cut the strip to fit exactly.
- Secure with screws or adhesive.
Advantages:
- Hides uneven edges.
- Creates a safe walking surface.
- Offers design flexibility.
Best Rooms:
Doorways, hallways, or rooms with mixed flooring types.
10. Snap-In Strip
Snap-in strips click into a pre-installed metal track. The carpet edge slides under the strip for a secure hold.
Installation Tips:
- Install the metal track first.
- Cut the strip to the correct length.
- Press the strip firmly into the track until it clicks.
Advantages:
- Easy to install and remove.
- Holds carpet securely.
- Reduces carpet movement.
Best Rooms:
- Large rooms, hallways, or spaces with frequent use.
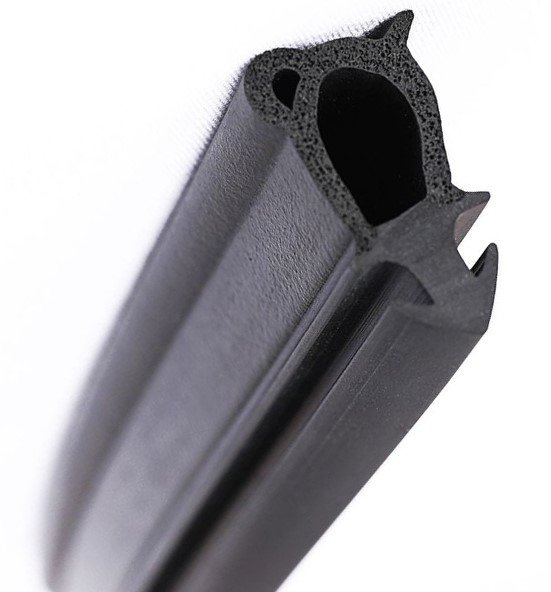
11. Rubber Carpet Strip

Rubber strips are flexible, strong, and safe. They absorb impact and prevent slipping. Rubber strips work well in areas with heavy foot traffic or children.
Installation Tips:
- Measure the area and cut to size.
- Use adhesive to secure the strip.
- Ensure the rubber is flush with the floor.
Advantages:
- Provides a non-slip surface.
- Protects carpet edges from heavy wear.
- Flexible and durable.
Best Rooms:
Playrooms, kitchens, or high-traffic hallways.
12. Decorative Carpet Strip
Decorative strips add style while protecting carpet edges. They come in patterns, textures, and finishes such as wood or metal.
Installation Tips:
- Measure the gap accurately.
- Cut the strip to the desired length.
- Press or nail it firmly in place.
Advantages:
- Enhances room appearance.
- Protects carpet edges.
- Variety of colors and textures available.
Best Rooms:
- Living rooms, hallways, or guest rooms where aesthetics matter.
Additional Tips for Choosing Carpet Transition Strips
- Measure Carefully: Measure both the width and height difference between floors. Accurate measurements make installation easier.
- Consider Floor Type: Match the strip material with your flooring. Wood strips suit hardwood, metal strips suit tiles, and vinyl works well in bedrooms.
- Think About Traffic: High-traffic areas need durable strips like metal or rubber. Low-traffic rooms can use decorative or vinyl strips.
- Check for Safety: Choose strips with smooth edges to avoid trips or injuries. Rubber strips are good for child-safe areas.
- Installation Method: Some strips require nails or screws, while others use adhesive. Choose a method that fits your skill level.
Conclusion
Carpet transition strips improve safety, protect edges, and give rooms a clean finish. T-Molding, reducer strips, and end caps handle floor height differences.
Metal, vinyl, and wood strips offer durability and style. Snap-in, rubber, and decorative strips provide easy installation and aesthetic appeal.
Choosing the right strip depends on the floor type, room use, and personal preference. Installing them properly creates smooth, safe, and lasting transitions for any home.