
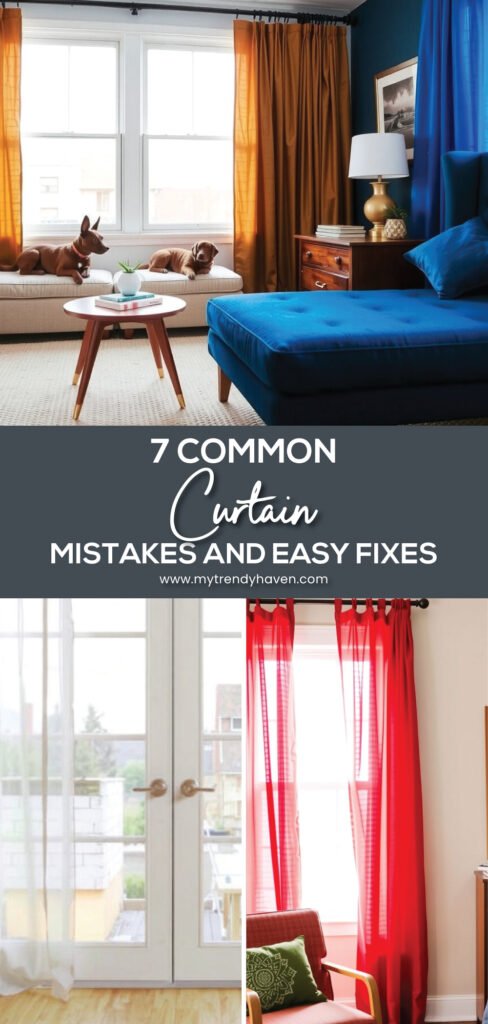
I’ve seen it happen countless times—a room that could look incredible ends up feeling off because the curtains are all wrong. Maybe they’re too short, hung too low, or clash with everything else. I get it—curtains seem simple, but they carry serious power in shaping a room’s entire atmosphere.
Why Curtains Matter More Than You Think
Let me tell you, I learned this lesson the hard way. In my first apartment, I thought hanging curtains was easy. “It’s just fabric and a rod,” I told myself. Nope. The result looked like a sad Halloween prop—crooked, too narrow, and definitely not covering the window. It was a full-on decorating fail.
Curtains aren’t just for decoration. They control sunlight, privacy, and even how large your windows appear. Hang them high and wide, and suddenly your ceilings look taller, your room feels more open, and the whole place gains a sense of polish. Go too short or too flimsy, and your home starts to feel unfinished—like you gave up halfway through decorating.
Most people grab whatever curtains are on sale, skipping the details that actually matter—like fabric type, lining, and placement. That’s where the real transformation happens. Heavy materials like velvet add depth and warmth to cozy areas, while lighter ones like linen let in a soft glow that feels breezy and natural.
And trust me on this—length is everything. Curtains that float awkwardly above the floor look like a mistake, while those that drag too much end up collecting dust and looking sloppy. Getting that just-right touch where the fabric brushes the floor gives your room a clean, intentional finish.
The difference is wild. Good curtains don’t just frame a window; they frame the whole mood of your home. Once you fix these simple mistakes, the rest of your decor finally makes sense—and your space feels balanced, stylish, and pulled together.
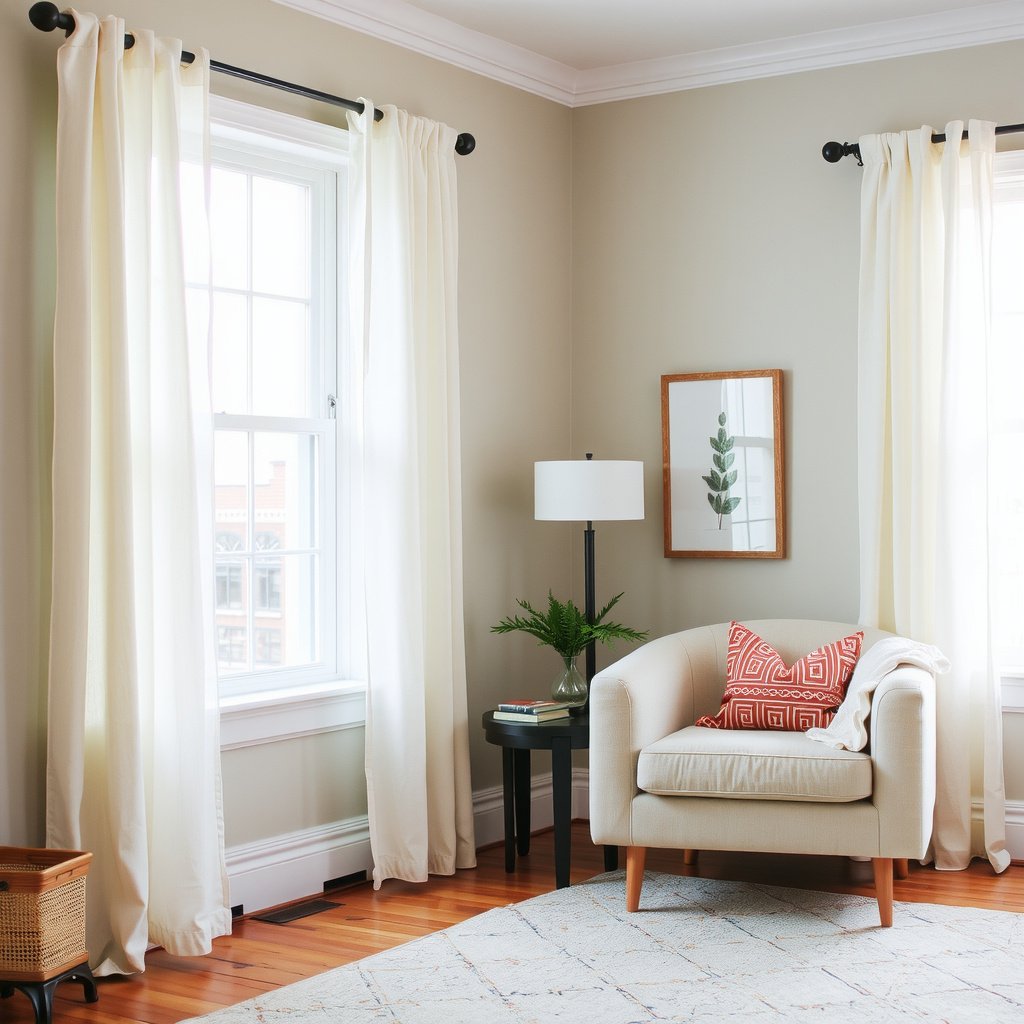
Mistake #1: Choosing the Wrong Length

Nothing torpedoes a well-styled room faster than curtains that are the wrong length. I hung curtains that were way too short in my first place and thought nobody would notice—big mistake. If the hem hovers above the floor like it’s avoiding dust, the whole space reads unfinished. Longer panels pull the eye up, making ceilings feel taller and the room more composed. Short ones? Think of wearing cropped pants to a formal dinner.
How to Measure for the Right Length
Grab a tape measure — eyeballing is a recipe for regret. Measure from the floor straight up to the spot where the rod will sit (most pros place the rod about 4–6 inches above the window frame). Common panel lengths are 63″, 84″, 96″, and 108″. When in doubt, pick a longer size: you can always hem, but you can’t add height to a panel that’s too short. Aim for one of these finishes: barely kissing the floor, just touching it, or a small, elegant puddle if you prefer that luxe look. If your floor isn’t level or the window is off-center, measure each side — twice is smart, three times is better.
Small measurement habits save big styling fails. Get this right and the rest of your window game falls neatly into place.
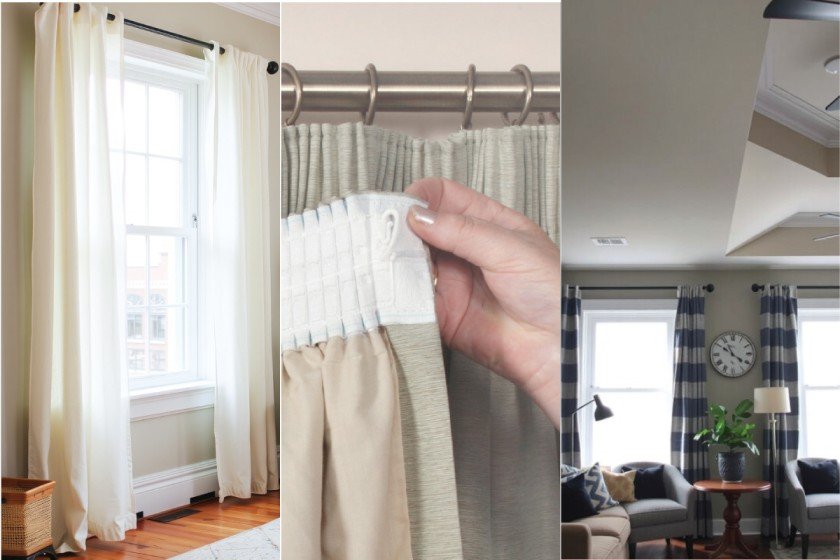
Mistake #2: Curtain Fabric Mistakes and Easy Fixes
Alright, curtain fabric might seem like a small deal, but it totally changes the feel of a room. I learned that lesson after hanging a pair of discount curtains that faded faster than an old T-shirt. The texture was off, the light looked harsh, and my whole space felt tired. Bargain panels might save a few bucks upfront, but they end up costing your room’s style in the long run.
Ways to Upgrade Your Curtain Fabric
- Pick heavier materials like linen, cotton canvas, or velvet—they drape better and keep their shape. Skip the flimsy polyester ones that wrinkle and cling.
- Test before you buy. Scrunch the fabric in your hand. If it wrinkles instantly or feels stiff, move on.
- Check those labels. Look for fade-resistant or washable options so you don’t end up with streaky, sun-bleached panels.
- Add a liner. Even affordable curtains can look richer with blackout or thermal backing. It gives weight, better light control, and a cleaner hang.
- Try swatches at home. Lighting changes everything. What looks soft beige in-store might turn peach in your living room.
Curtain fabric sets the tone. Upgrade the material, and suddenly the entire room feels more intentional—without redoing anything else.
Mistake #3: Curtain Height Mistakes and How to Fix Them
Mounting your curtains too low? Yeah, that’s an instant mood killer. I’ve been guilty of it more times than I’d like to admit, and every time it made my room feel cramped and awkward. Hanging the rod too close to the window frame cuts off the height your walls could be showing off. The space ends up looking squat, even if everything else in the room is on point.
Tips for Getting the Height Right
- Raise it up. Position the curtain rod about 4–6 inches above the window frame. If your ceilings are tall, go even higher for that stretched, airy effect.
- Measure before drilling. I once guessed the height and wound up with curtains that looked like they were scared of the floor. Now I measure from the ground up every single time.
- Test the look first. Have someone hold the rod while you step back. Adjust until it feels balanced—no shame in changing your mind.
- Widen the rod. Extend it at least 6 inches past each side of the window. It lets in more light and makes your windows seem broader.
Getting the height right doesn’t take a pro—just a little patience and a measuring tape. Once those curtains hang higher, the whole room feels bigger, brighter, and way more polished.
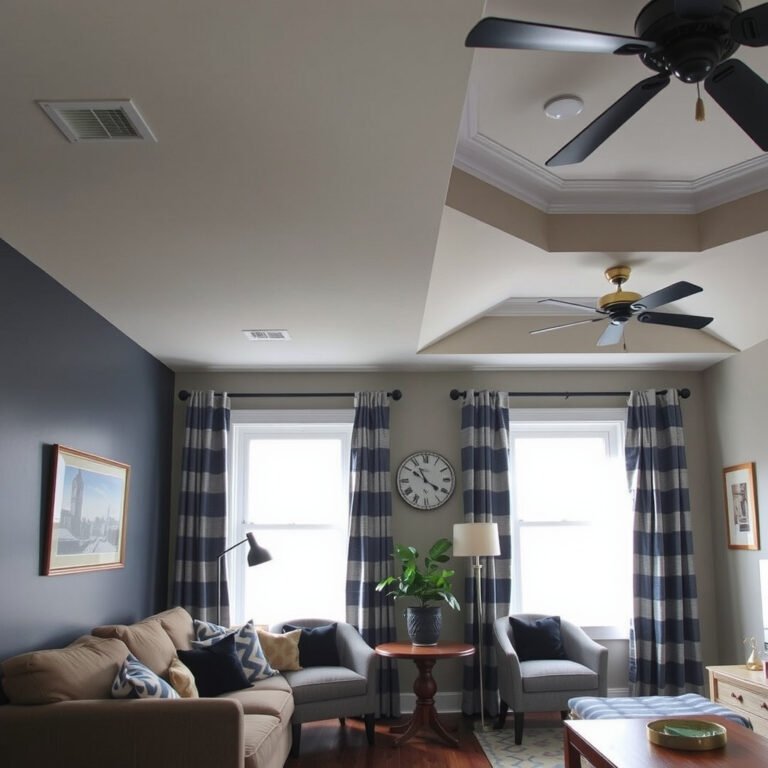
Mistake #4: Curtain Color Mistakes and Easy Fixes

Choosing the wrong curtain color or print can throw your entire room off balance fast. I’ve been there—once went with neon green curtains because I thought they’d “add personality.” Big mistake. They clashed with everything, and the whole room felt loud and weird. The color or pattern you pick can make the space feel harmonious—or like a mismatched thrift store experiment.
How to Match Curtains with Your Decor
- Bring a sample from your room. Grab a cushion, rug swatch, or even a piece of wall art and compare it with curtain fabrics in-store. If they fight each other, it’s a no-go.
- Mind the scale of the pattern. Small rooms do better with solid shades or gentle prints. Big, busy designs can overwhelm the space. Larger rooms can handle bolder patterns—but they still need to make sense with your furniture.
- Test under real light. A curtain that looks calm in the shop might glow like a highlighter in your living room. Hang a fabric swatch by the window for a day and see how it changes.
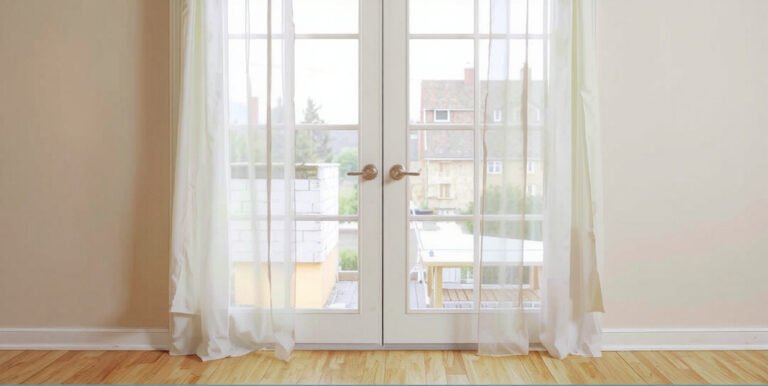
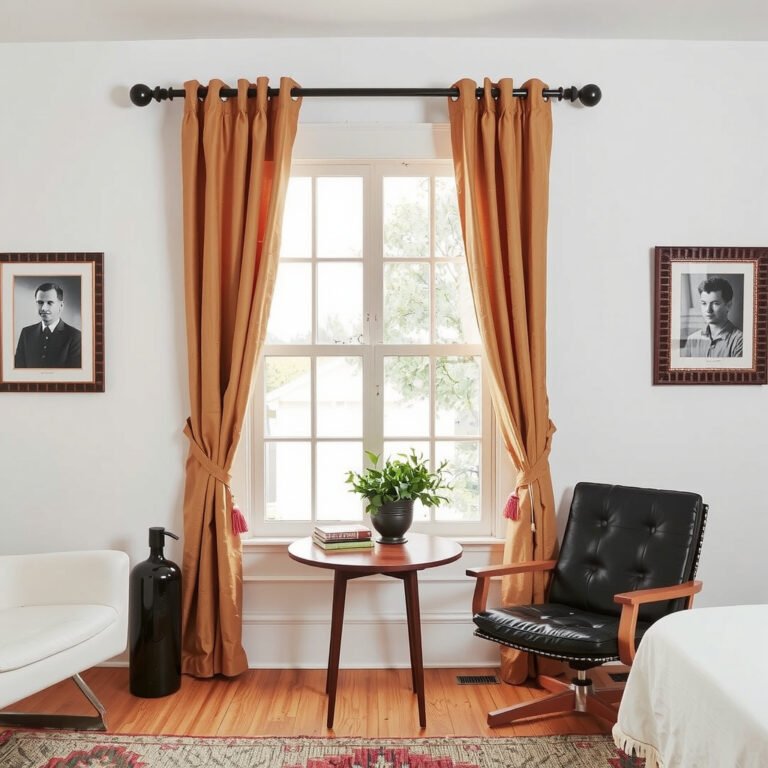
- Think about the atmosphere. Light neutrals keep things airy, while dark hues bring warmth. Bright colors like red or orange can add energy—but use them sparingly unless you want a room that never rests.
Get the color and pattern right, and your curtains stop standing out for the wrong reason. They’ll quietly tie your entire space together—no regrets, no neon nightmares.
Mistake #5: Curtain Lining Mistakes and Fixes
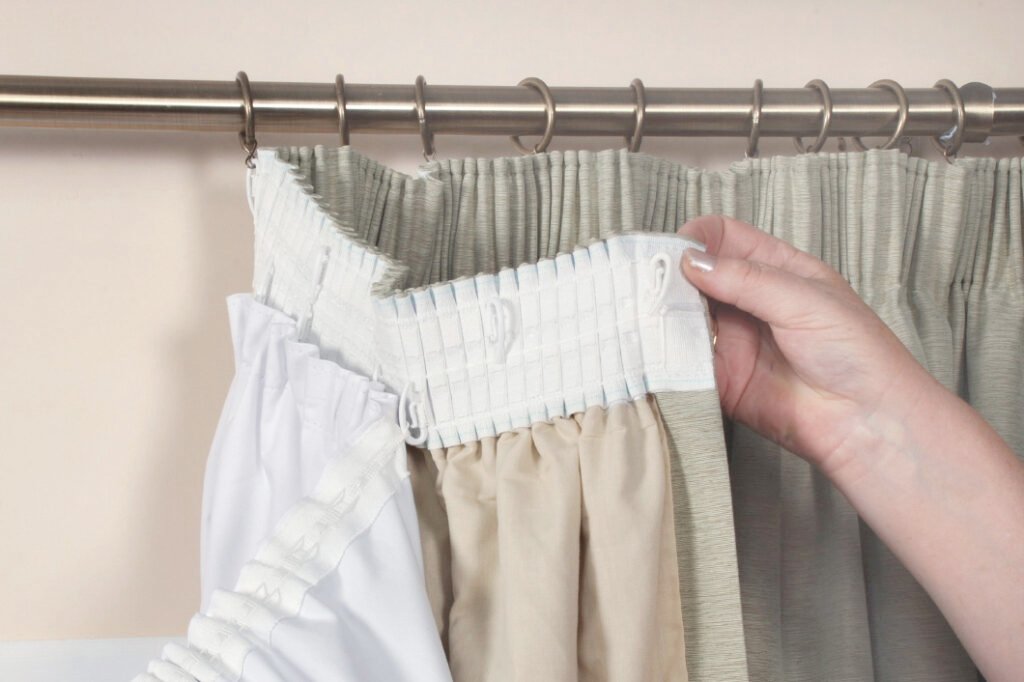
I’ve totally skipped curtain lining before, thinking it didn’t matter. Big regret. My room looked flat, sunlight blasted through every morning, and the fabric faded faster than cheap paint. Curtains aren’t just decoration—they’re functional, and lining or layering them makes a major difference in how a space feels and performs.
Why Lined and Layered Curtains Matter
- Better light control. Lined curtains block harsh sunlight, giving you that peaceful weekend morning without the surprise spotlight.
- Improved insulation. Layers help trap warmth in winter and keep rooms cooler in summer. You’ll actually feel the temperature difference.
- Extra privacy. Add sheer panels behind your main curtains for daytime softness without feeling exposed. I learned this the awkward way after realizing my blackout panels left bright gaps on both sides—yeah, not ideal.
- Sharper style. Lining gives curtains weight and shape, making them drape better. Layering adds depth and makes even simple fabrics look intentional and polished.
- Noise control. Heavier, layered fabrics absorb sound, which is perfect if you live near traffic or noisy neighbors.
If your curtains look limp or see-through, it’s time for reinforcements. Add a liner or layer with sheers, and suddenly your whole room feels upgraded—no remodel required.
Mistake #6: Curtain Cleaning Mistakes and Fixes
Yeah, curtain care isn’t glamorous, but skipping it turns “homey” into “dust museum” fast. I once ignored mine for over a year, and the next time someone sat near the window, they sneezed like it was allergy season. Keeping curtains fresh isn’t just about looks—it’s about air quality, fabric life, and avoiding weird smells that cling to the room.
Proper Curtain Care Tips
- Vacuum regularly. Grab the brush attachment and give your curtains a light run every few weeks. It keeps dust from building up and saves you from major cleanups later.
- Read the label. Machine-washable? Use cold water and a gentle spin. Skip the high setting unless you enjoy untangling a twisted curtain knot the size of a football.
- Respect the “dry clean only” tag. I once tried a DIY tub wash—it ended with water stains and regret. Trust the professionals once or twice a year instead.
- Rotate your panels. Sunlight fades fabric unevenly. Switching sides every few months keeps things looking consistent, especially for darker fabrics like velvet or heavy cotton.
- Let them dry properly. Hanging them while wet makes them stretch and sag. Wait until they’re just damp, then rehang to keep their shape.
A little curtain upkeep goes a long way. Clean panels hang better, last longer, and make your home feel fresher—without anyone sneezing mid-conversation.
Mistake #7: Curtain Rod Fails You Don’t Want to Repeat
Let’s be real—curtain rods aren’t the flashy part of decorating, but pick the wrong ones and you’ll regret it fast. I once hung blackout panels on a flimsy plastic rod—by sunset, the thing looked like spaghetti. Lesson learned.
Here’s what actually works: go for sturdy rods made of metal or wood. They keep heavier curtains from sagging, tearing, or falling out of the wall. For wider windows, grab a center support bracket—it’s the difference between sleek and sloppy. Adjustable rods are lifesavers too, especially if your windows refuse to fit standard measurements.
Finials might seem like overkill, but they’re the polish that keeps panels from sliding off every time someone opens the curtains. Don’t skimp on hardware either—solid brackets and strong screws are your friends. Cheap kits come with screws so weak they practically beg to rip out of drywall.
Match your metals to your room’s vibe: black rods with brass, silver, or nickel always look bold. Skip the flimsy white ones—they scream “rental.”
Want curtains that look pro and stay put? Invest in real hardware, line up your brackets, and treat rods like part of the design, not an afterthought. Your windows—and walls—will thank you.
Conclusion:
Curtains can completely change how a room feels—but only if they’re hung, sized, and styled the right way. Avoiding these seven slip-ups keeps your windows from looking awkward or half-finished. Invest in sturdy rods, hang panels high and wide, and choose fabrics that match both light and mood. Small details like proper length, balanced folds, and secure brackets make all the difference.
Your windows frame the mood of your home—treat them like part of the design, not an afterthought. With a few smart tweaks, you’ll have drapes that look intentional, hang beautifully, and actually stay put.