
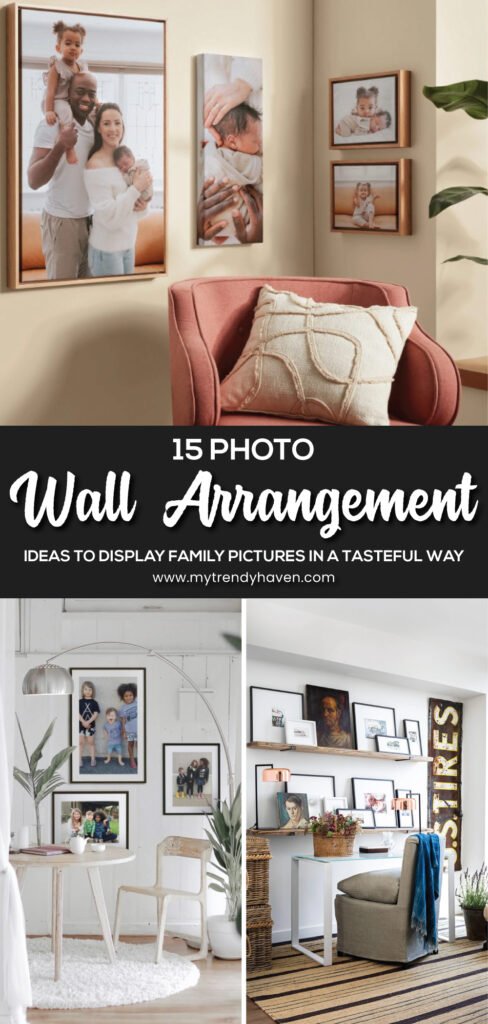
Photos freeze moments in time. They capture family, friends, travels, and milestones. A blank wall can turn into a beautiful story when filled with those moments. Arranging photos in the right way makes your space feel personal, stylish, and welcoming.
Every arrangement style has its own charm. Some feel modern and sleek. Others give a cozy and creative look. The goal is to find a style that fits both your photos and your room.
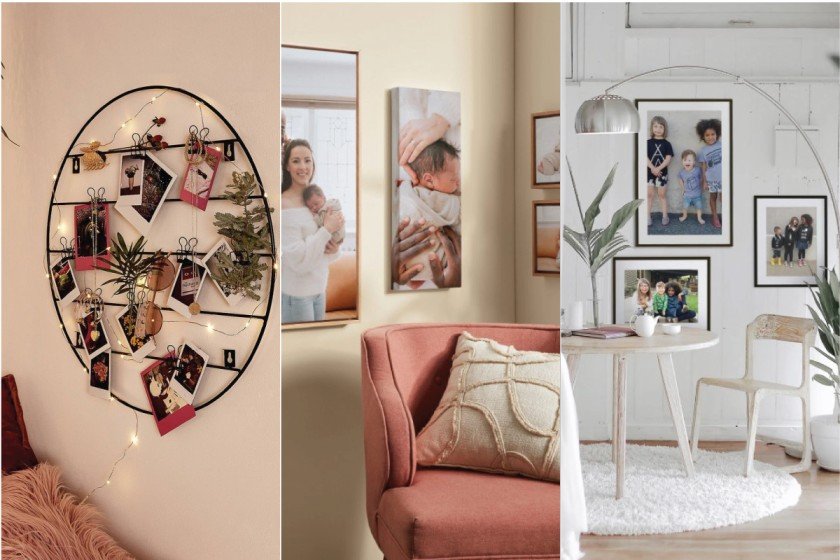
Below are 15 detailed photo wall arrangement ideas with tips, examples, and design notes.
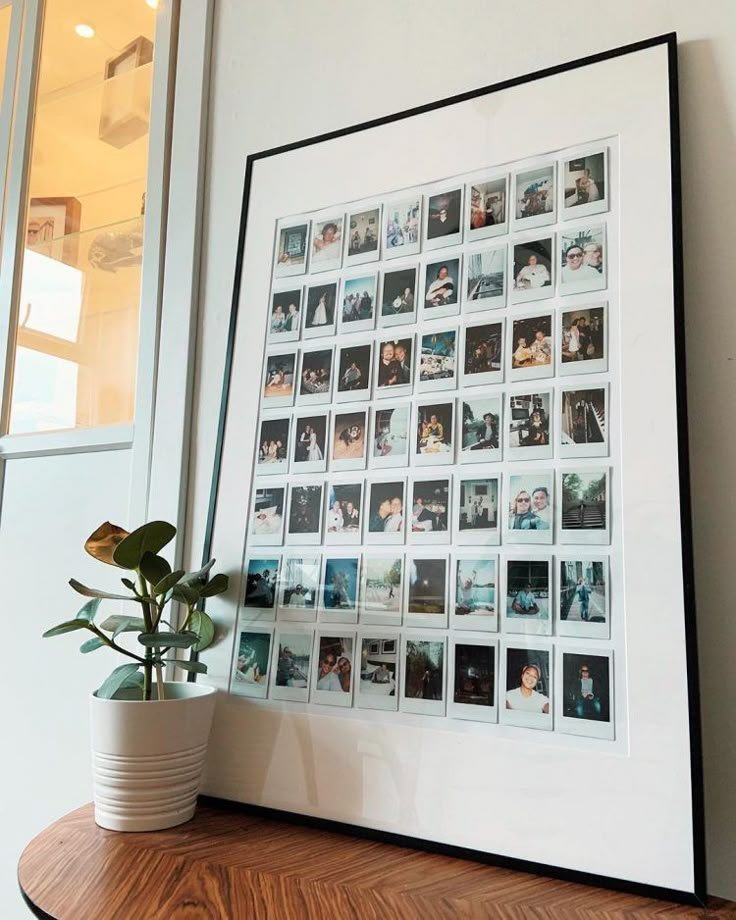
1. Classic Grid Layout
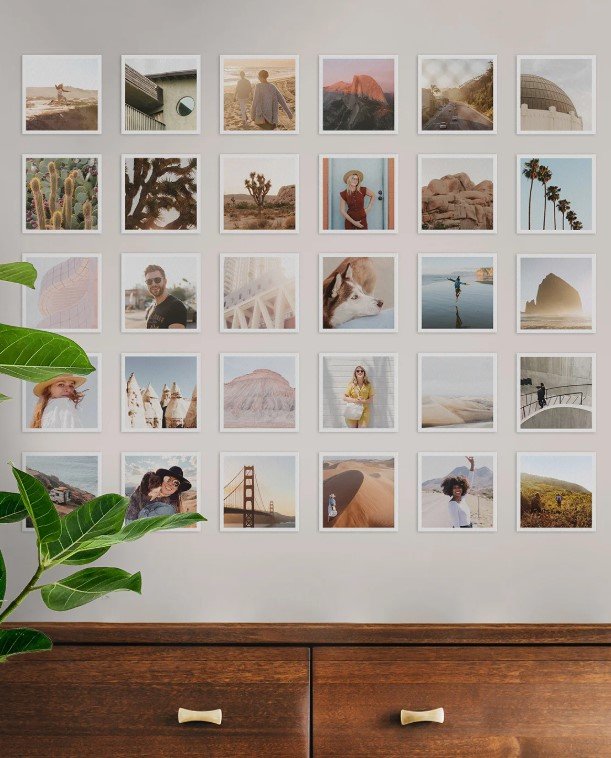
The grid layout is simple yet powerful. Frames line up in perfect rows and columns, forming a box-like arrangement. Each photo looks neat, and no single one overshadows the other.
Why it works:
- Creates a clean and balanced look.
- Easy to plan and measure.
- Perfect for formal rooms, offices, or minimalist homes.
How to do it:
- Use frames of the same size and style for consistency.
- Measure spacing between each frame with a ruler or template.
- Black frames with white mats give a professional gallery look.
- Try using 9, 12, or 16 frames for the best visual balance.
Best for: Travel photography, portraits, or art prints that look good in sets.
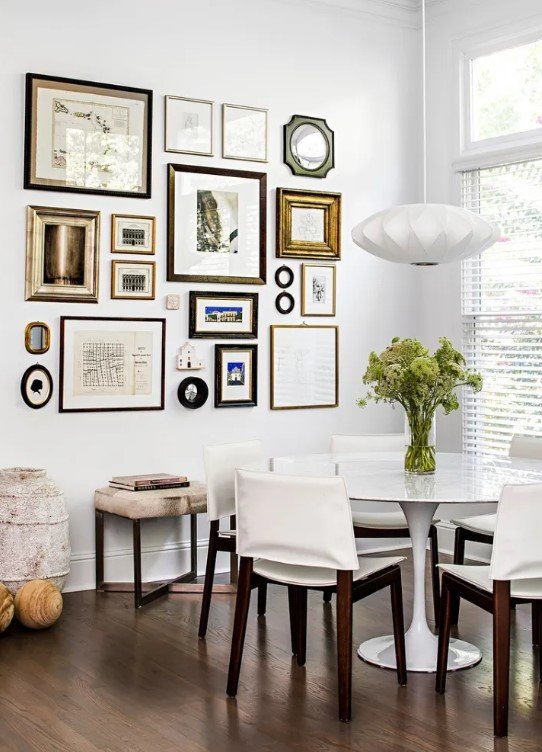
2. Asymmetrical Gallery
An asymmetrical gallery feels relaxed and artistic. Frames of different sizes and shapes mix together in one display. The arrangement doesn’t follow strict rules, yet it feels balanced.
Why it works:
- Adds energy and creativity to a room.
- Lets you mix both big and small photos.
- Works well for casual or modern homes.
How to do it:
- Choose 2–3 larger frames as anchors.
- Add smaller frames around them like puzzle pieces.
- Step back often to check balance.
- Keep the frame colors similar to avoid chaos.
Pro tip: Mix vertical and horizontal shots for variety.
3. Shelf Display Wall
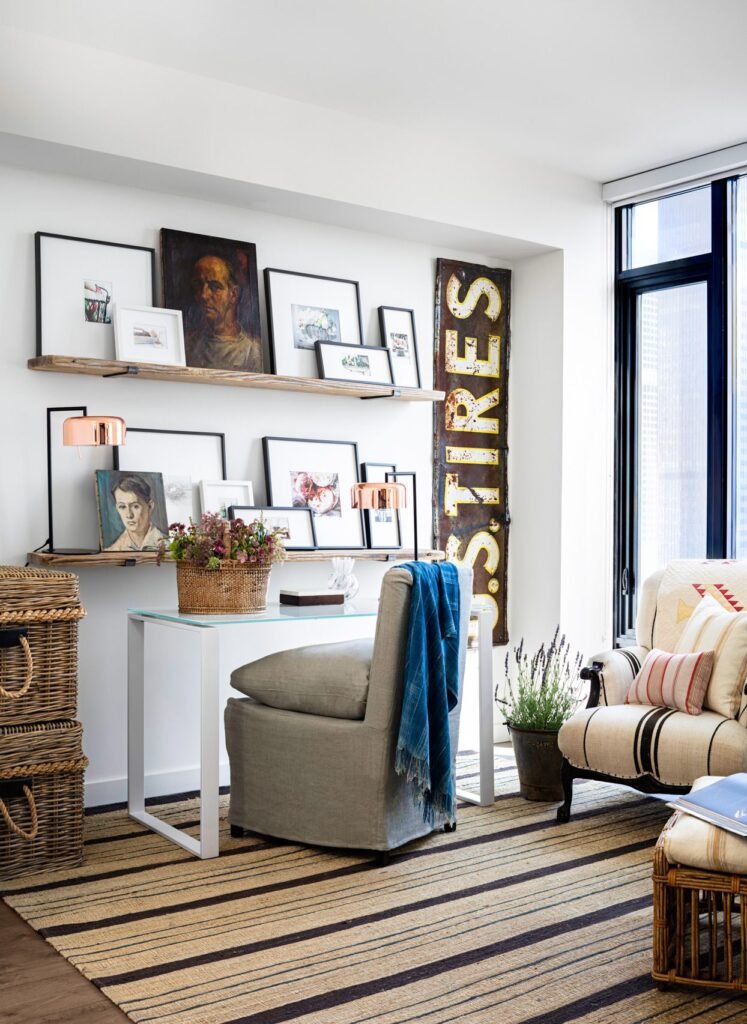
Floating shelves turn your wall into a flexible gallery. Photos rest on the shelves instead of being nailed into the wall. This makes it easy to change photos or move frames whenever you like.
Why it works:
- Easy to update with new photos.
- Adds depth and texture to the wall.
- Lets you mix photos with décor items.
How to do it:
- Use 2–3 long shelves stacked vertically.
- Lean frames against the wall at different angles.
- Add small plants, candles, or books between frames.
- Use shelves with hidden brackets for a clean look.
Best for: Living rooms, hallways, or bedrooms where flexibility is important.
4. Floor-to-Ceiling Collage
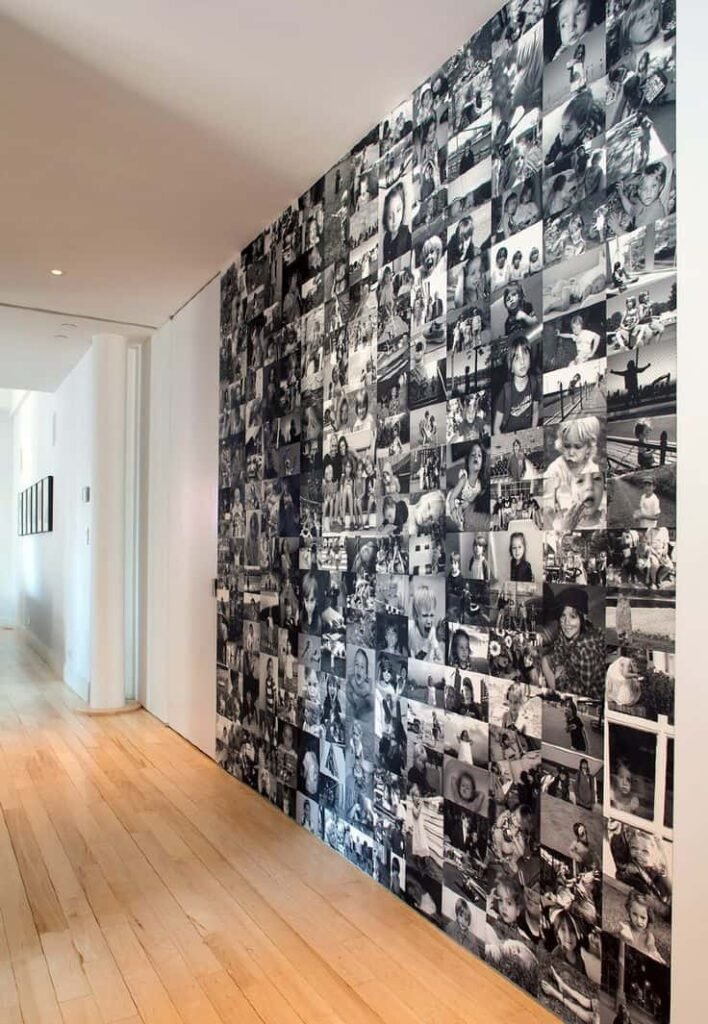
A full-wall collage creates a bold and dramatic effect. It covers the entire wall with photos, almost like wallpaper made of memories.
Why it works:
- Makes the wall the main focus of the room.
- Can hold many photos at once.
- Perfect for storytelling through images.
How to do it:
- Use different frame sizes for variety.
- Stick to one frame color for harmony.
- Keep spacing small but even.
- Try black and white photos for a timeless look.
Pro tip: This layout works best in hallways, staircases, or family rooms where people spend time walking and looking.
5. Minimalist Single Row
A straight row of photos feels modern and sharp. The line naturally draws the eye across the wall, giving the space a sense of order.
Why it works:
- Simple and clean.
- Easy to measure and align.
- Works in both narrow and wide spaces.
How to do it:
- Use frames of the same size.
- Hang them at eye level for easy viewing.
- Place the row above a sofa, bed, or dining table for balance.
Best for: Art prints, landscapes, or abstract photography.
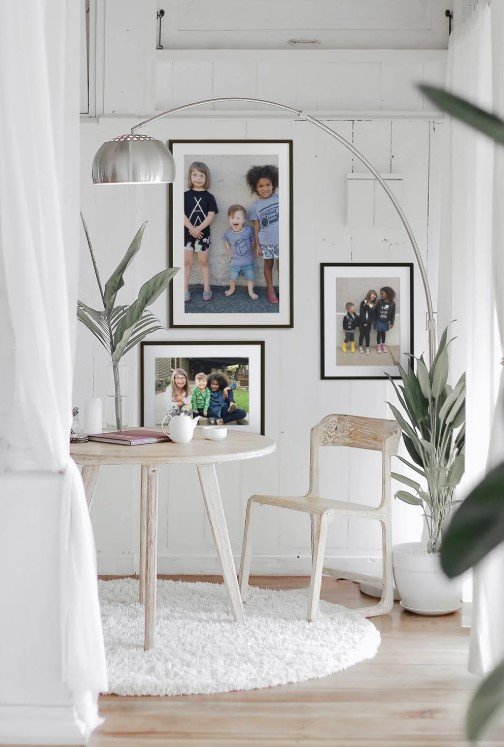
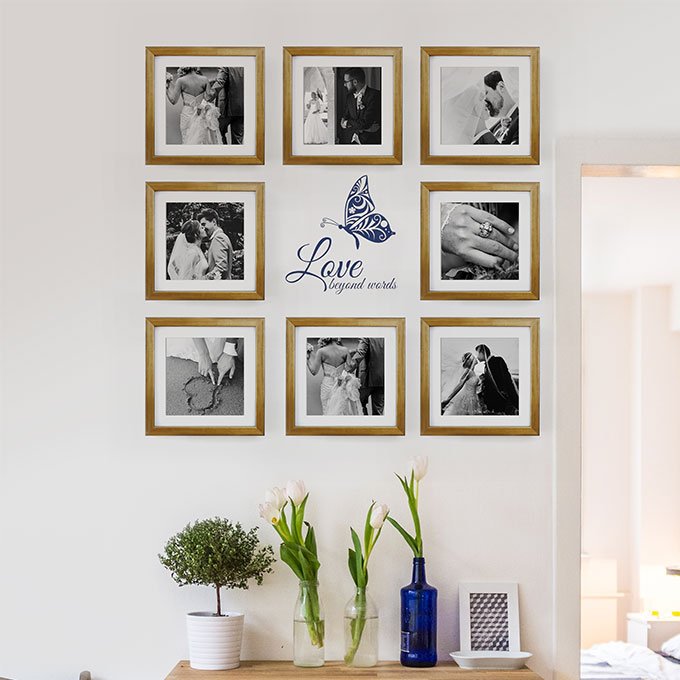
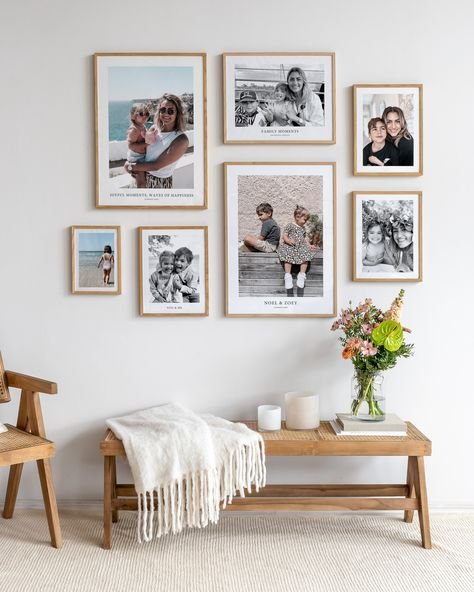
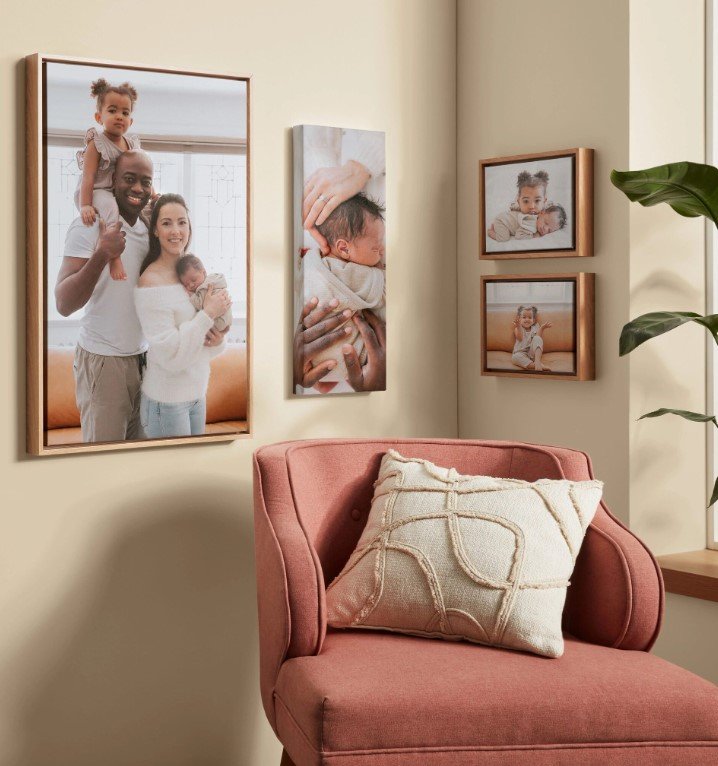
6. Centerpiece with Side Photos
This layout uses one large photo as the star. Smaller frames surround it, adding detail and depth. It feels balanced yet dynamic.
Why it works:
- Highlights one important moment.
- Adds context with smaller photos.
- Perfect for family portraits.
How to do it:
- Pick one oversized photo for the center.
- Surround it with smaller matching frames.
- Keep spacing even for a tidy look.
Example: A wedding photo in the center, surrounded by engagement, honeymoon, and family shots.
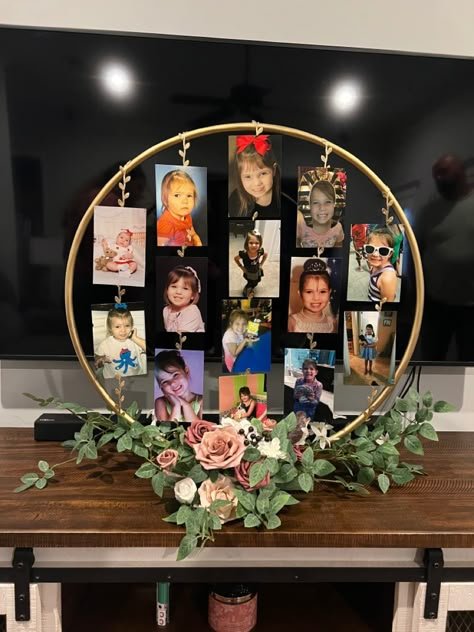
7. Circle Layout
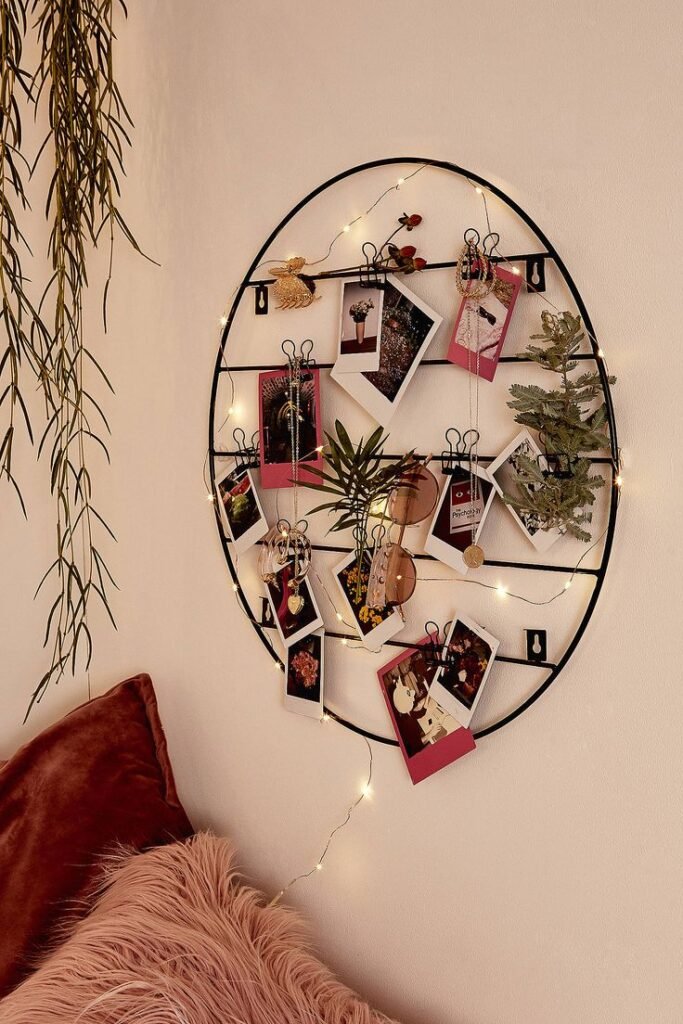
A circular photo wall is playful and unique. It creates movement and softness, unlike the rigid lines of a grid.
Why it works:
- Feels creative and modern.
- Works well in casual or cozy spaces.
- Draws attention immediately.
How to do it:
- Sketch a circle outline on the wall.
- Place the largest photo in the middle.
- Arrange smaller frames evenly around it.
- Keep spacing tight to maintain the round shape.
Pro tip: Use matching frame colors for a more polished finish.
8. Staircase Flow
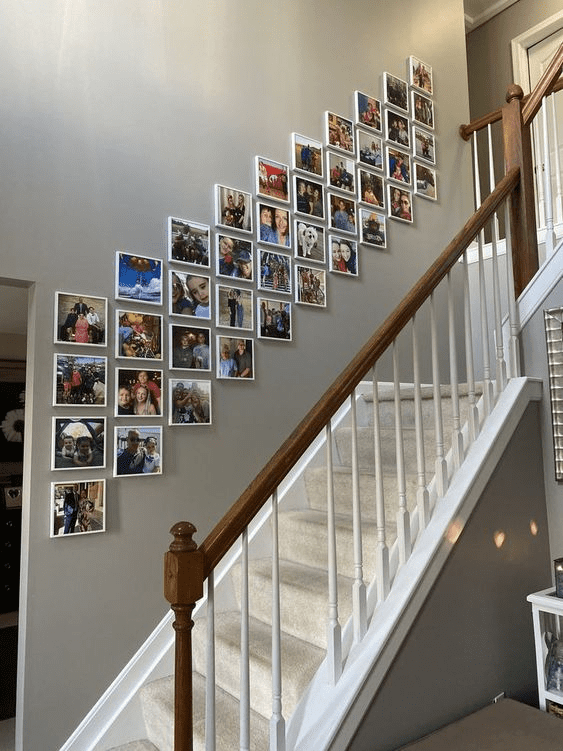
A staircase wall is the perfect place for photos. The sloping line of the stairs guides the eye naturally upward. Arranging frames along this line creates a flowing effect.
Why it works:
- Follows the natural shape of the stairs.
- Feels dynamic and inviting.
- Adds warmth to an often-empty wall.
How to do it:
- Use the stair railing as a guide for alignment.
- Keep equal spacing between frames.
- Use medium-sized frames for easy viewing.
Best for: Family photos or life milestones that feel like a journey.
9. Timeline Arrangement
A timeline layout turns your wall into a storybook. Photos appear in chronological order, showing growth, change, and special moments.
Why it works:
- Shows life as a journey.
- Easy to follow and meaningful.
- Works well in long hallways.
How to do it:
- Arrange photos in horizontal or vertical order.
- Label them with years or short notes.
- Keep frame style consistent for harmony.
Example: Childhood photos leading to graduation, wedding, and family life.
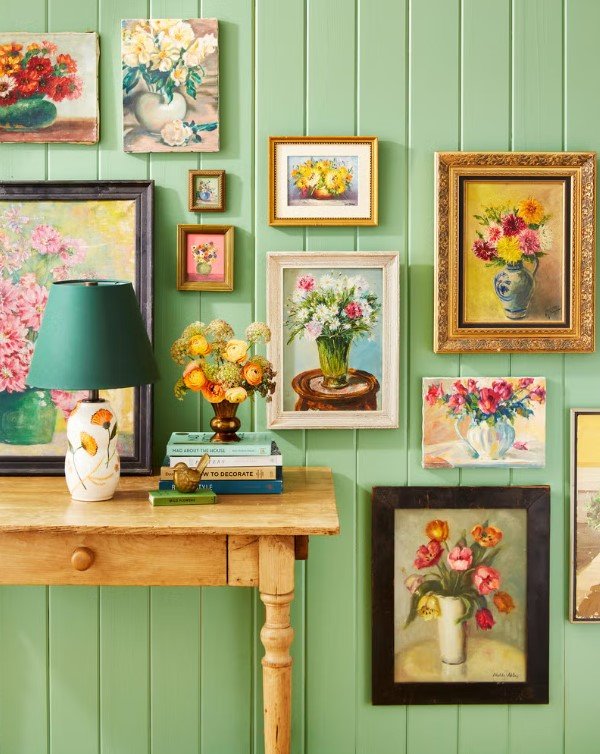
10. Mixed Media Wall
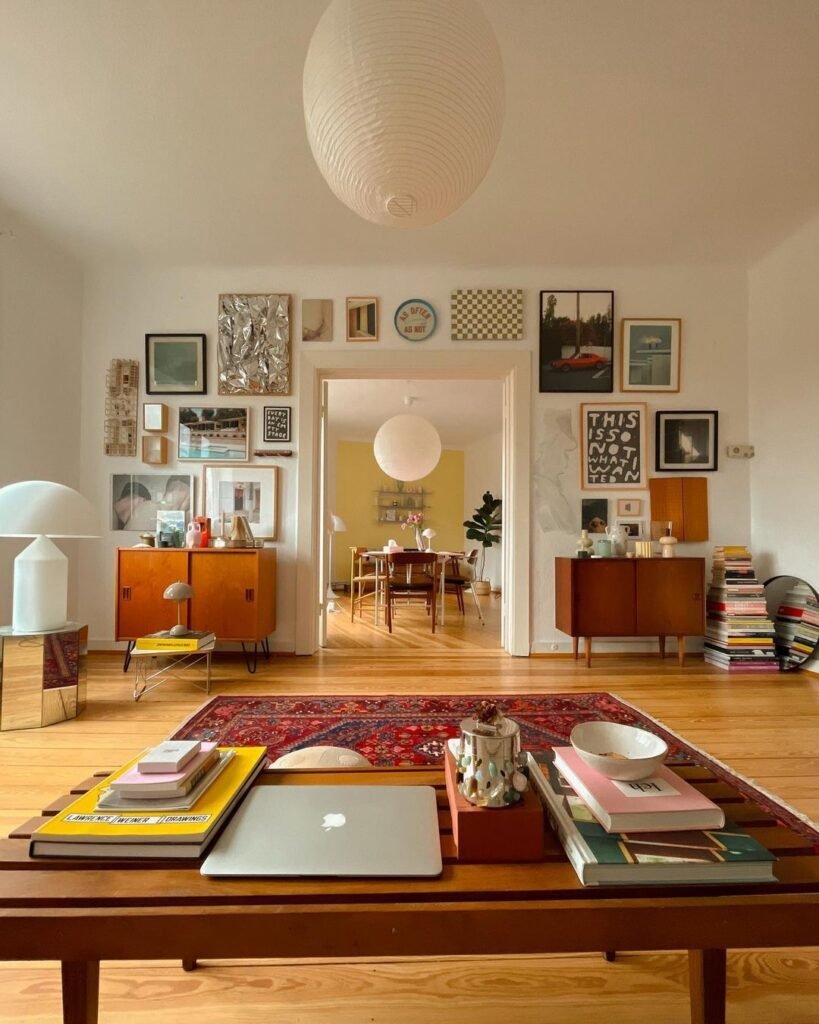
Mixing photos with art, quotes, or mirrors creates variety. The wall feels dynamic and layered, giving the space personality.
Why it works:
- Prevents the wall from looking flat.
- Combines different elements into one design.
- Feels personal and creative.
How to do it:
- Choose a main theme, such as travel or family.
- Add related art prints, maps, or inspirational words.
- Keep frames in similar tones to avoid clutter.
Pro tip: Leave some breathing space so the wall doesn’t feel crowded.
11. Polaroid Style Wall
Polaroid photos bring nostalgia and charm. They give a casual, handmade look that feels fun and personal.
Why it works:
- No frames needed.
- Easy to update with new photos.
- Adds a playful touch.
How to do it:
- Arrange photos in rows or clusters.
- Use washi tape, pins, or clips to stick them on the wall.
- Add handwritten notes, dates, or doodles for extra character.
Best for: Bedrooms, dorms, or creative studios.
12. Rustic Clip String Display
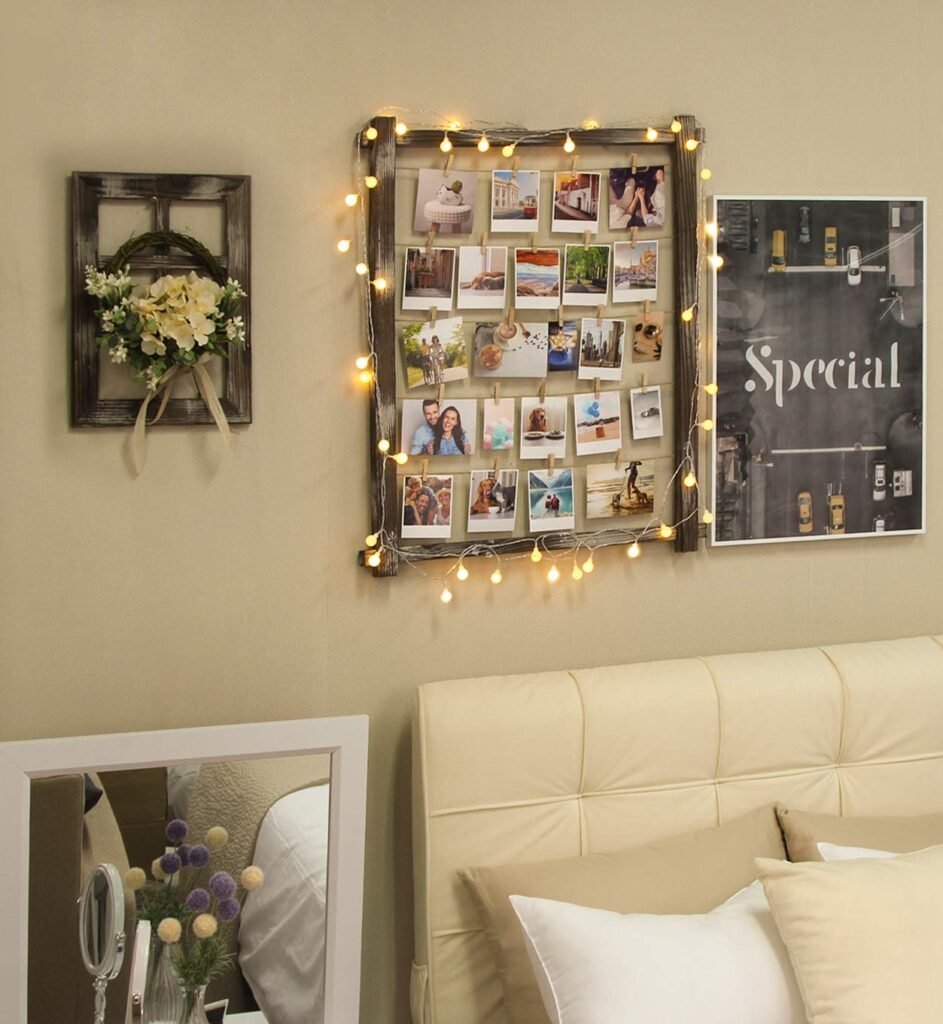
A string of photos clipped with wooden pegs creates a warm and rustic look. It feels casual and flexible, perfect for cozy corners.
Why it works:
- Inexpensive and easy to do.
- Can be updated anytime.
- Works well for small spaces.
How to do it:
- Hang string or twine across the wall.
- Use mini clothespins or clips for photos.
- Add fairy lights for extra charm.
Pro tip: Mix photo sizes to keep it playful.
13. Geometric Shape Layout
Photos arranged into geometric shapes feel artistic and bold. Triangles, diamonds, and hexagons work especially well.
Why it works:
- Adds structure and creativity.
- Makes the wall look modern.
- Works well with abstract art.
How to do it:
- Lightly sketch the shape with pencil.
- Arrange frames to fill the shape.
- Keep spacing even for clean lines.
Example: Hexagon layouts with small square frames for a honeycomb effect.
14. Theme-Based Wall
A theme-based wall focuses on one story or idea. It could be travel, family, pets, or nature. The theme ties the collection together.
Why it works:
- Feels thoughtful and consistent.
- Easy for guests to understand.
- Adds personality to the room.
How to do it:
- Select photos around one subject.
- Use the same editing style, like black and white or sepia.
- Add labels or captions for extra context.
Example: A travel wall with maps, tickets, and photos from different countries.
15. Statement Oversized Photo
Sometimes one photo is enough. A single oversized image makes a strong impact. It grabs attention and sets the mood of the room.
Why it works:
- Clean and bold.
- No clutter or distraction.
- Perfect for modern spaces.
How to do it:
- Pick a photo with strong meaning.
- Print it large and frame it nicely.
- Place it in the center of the wall.
Best for: Weddings, family portraits, or dramatic landscapes.
Conclusion
A photo wall is more than decoration. It is a story told through images. Each arrangement style brings a different mood. A grid feels clean. A collage feels warm. A circle feels playful. A timeline feels meaningful.
The best choice depends on your photos and your space. Start small if you feel unsure. Add more over time. Try mixing styles until you find the one that feels right.
Photos deserve to be seen, not hidden in albums or phones. Give them space on your walls. Let your memories become part of your home.